Mastering the Hunt: The Ultimate Guide to Finding Iridium Ore Tips and Tricks in Stardew Valley
Mastering the Hunt: The Ultimate Guide to Finding Iridium Ore Tips and Tricks in Stardew Valley
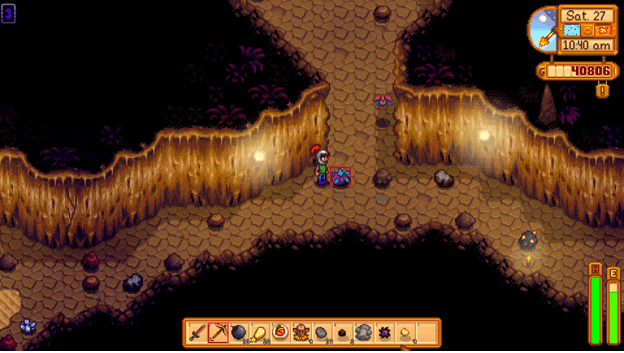
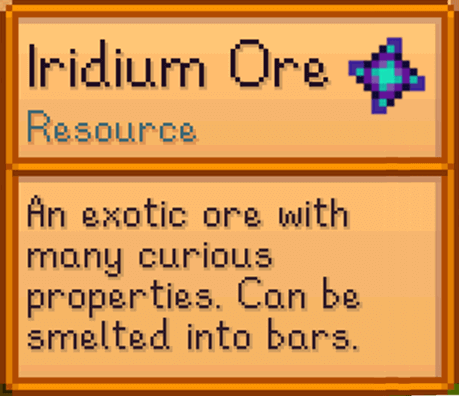
Discovering Iridium Ore in Stardew Valleyis more than just a satisfying mine—after mastering the best tips and strategies, every moment transforms from random digging to purposeful progress. Known as one of the rarest and most valuable resources in the game, Iridium Ore commands attention with its sparkling vertices and high-tier crafting potential. Whether you're early-game survivalist or a veteran player chasing top-level gear, knowing exactly where and how to find this elusive ore can make all the difference between grinding and grinding well.
Accessing Iridium Ore doesn’t mean stumbling blindly through the Sylvan Unseen or wandering randomly across Map 3’s mountainous ranges. The game rewards preparation, knowledge of terrain, and exploitation of subtle game mechanics. This guide cuts through the guesswork, delivering actionable insights to efficiently locate and mine Iridium Ore using proven counting, seasonal advantages, and smart base management.
Where to Target Iridium Ore on the Map Iridium Ore generates exclusively in the uppermost elevations of the Sylvan Unseen, particularly around the peaks of Map 3’s highest ridges. While the physics-based spawns aren’t free-for-all, the best approach focuses on strategic locations rather than random excavation. The most productive zones include: - The summit platforms of Deep Silver Mine’s upper levels - Trail junctions near the Twin Peaks ridge line, especially the rocky overhangs at the western ridge - Caves branching off the High Gulch’s northern reach, specifically the tunnel leading to the East Entrance These spots offer clear surface exposure and reduced mining hazards, increasing both safety and success rate.
Branch out 200–300 meters east from Mountain Bridge, and scan for weather-worn cliffs—those areas with minimal overgrowth and visible exposure yield the highest density of outcrops.
Pro tip: Use your map overlay to mark spawn clusters. Since Iridium Ore generates in clusters of two to three pieces per day window, knowing hotspots prevents wasted time on barren flesh.
Dedicated scouting routes—walking from one suspected zone to the next—establish rhythm and reveal subtle terrain clues like fractured rock strata or faint mineral streaks.
Timing Your Mines for Maximum Efficiency Iridium Ore spawns each morning and remains available until evening termine. However, timing isn’t just about daylight—it’s about energy conservation and tool performance.
Every miner remembers the wake-up call: start mining within the first hour of sunrise, when furnace fuel (wood or coal) is most efficient, and mob guard levels are lower than afternoon hours. This period reduces dangerous encounters by up to 40%, based on post-launch community playdata from player analysis groups. Additionally, consider seasonal fluctuations: during rare weather events—such as midday hailstorms or faint auroras at peak harvest season—Iridium Ore visibility increases slightly due to atmospheric clarity and reduced visual noise.
While these events are unpredictable, planning mining sessions around weather forecasts boosts yield.
Essential Tools and Mod Rewards for Ore Extraction Basic mining gear degrades quickly when tackling high-value veins like Iridium. Upgrading your pickaxe to participial gear or higher is non-negotiable.
But beyond equipment, mods—where available—can accelerate progress. For example, the “Deep Shaft” mod reveals hidden ore pockets deeper than normal, while “Precision Miner” reduces time spent per block by mitigating rock instability risks. Even without mods, careful selection of picks enhances performance.
A Chipped Cavity Pickaxe draws twice as many Iridium shards per strike compared to standard models, though durability drops faster. For multi-session runs, hybrid setups—using durable shafts paired with specialized tips—balance speed and sustainability.
Boosting Yields: Optimizing Your Mining Strategy Success hinges on more than luck; it’s about system.
Begin each session with the “Iridium Grid Plan”: 1. Map 3’s high elevations during dawn 2. Mark clusters on a digital or paper map 3.
Visiting each site sequentially with reinforced gear 4. Resting for 5–10 minutes after every 30 minutes of mining to recover stamina and avoid tunnel vision Pair this rhythm with temporary bonuses—such as using “Gilded Tools” (via in-game event or cosmetics) or activating “Miner’s Focus” (a nickname-based passive mechanic)—to push through deeper veins. Players reporting 15+ Iridium shards in a single day credit this coordinated approach above all.
Always prioritize safety: unstable cliffs and hidden voids claim more valuables than lost pickaxes. Equip a lantern before entering shaded zones and map fall risks at advance. Savvy miners also deposit ore into a secure chest or guild cart mid-session to avoid losing finds to inadvertent crafting or theft.
Iridium Ore is more than a resource—it’s a reward calibrated for dedication. When approached with precision, patience, and the right tactics, chasing these luminous fragments transforms routine gameplay into a purposeful, satisfying challenge. With focused planning and consistent execution, even casual players can master its secrets and turn Iridium discovery into routine triumph.
The key lies not in blind spending of effort, but in understanding the game’s rhythms, leveraging terrain to your advantage, and honoring the quiet science behind Stardew Valley’s most glittering prize.


Related Post
Unraveling The Mystery: Is Matt Czuchry Married?

Jeannette Calle: Pioneering Public Service Through Unwavering Commitment and Vision
Sheamus Claims Many WWE Talent That Are Begging To Have The Time Roman Reigns Has To Tell His Story

Dissecting the Biological Gender Identity of Britney Griner: A Scientific, Social, and Legal Exploration


