LC135 V6: Mastering Front Light Installation in 6 Simple Steps
LC135 V6: Mastering Front Light Installation in 6 Simple Steps
Installing front lights on a LC135 V6 configuration isn’t just about swapping bulbs—it’s a precise process requiring careful planning, the right tools, and methodical execution. Whether upgrading for improved safety, aesthetics, or performance, following a structured approach ensures battery efficiency, optical accuracy, and long-term reliability. This guide delivers clear, tested steps to guide both novice mechanics and seasoned technicians through the entire front light installation process with unwavering precision.
The Foundation: Tools, Safety, and Planning
Prior to any installation, proper preparation is non-negotiable. Gathering the correct equipment and adhering to safety protocols prevents errors and protects your vehicle. - **Essential Tools Needed** A torque wrench, socket set with various sizes (including 8mm, 10mm, and 13mm), non-metallic pry tools, screwdriver set, electrical tester, mast mount aligner (if applicable), and a clean microfiber cloth.Special note: Use insulated gloves and safety glasses—electrical components beneath headlight assemblies carry live voltage risks even when the ignition is off. - **Pre-Installation Preparations** Begin by disconnecting the vehicle’s battery—removing the negative terminal secures electrical safety. Remove the existing trim or plastic covers using trim removers or carefully prying with plastic inserts to avoid damaging surrounding panels.
Map the original light housing orientation using the vehicle’s service manual; misalignment here creates installation delays and diminished beam alignment.
Step-by-Step Front Light Installation Protocol
The installation process follows a sequence designed to align optics, secure mounting, and verify functionality—all in one cohesive workflow. 1.**Remove the Old Housing** Begin by disconnecting wiring harnesses from the relay and bulb sockets. Slide off the plastic or rubber trim surrounding the unit. Use a 3mm flathead to gently shift clips without snapping them.
2. **Extract the Mounting Bracket** Locate the screws securing the bracket—typically two or three threads on the rear edge. Wiggle with precision torque using a torque wrench (usually 3–5 Nm) to avoid thread damage.
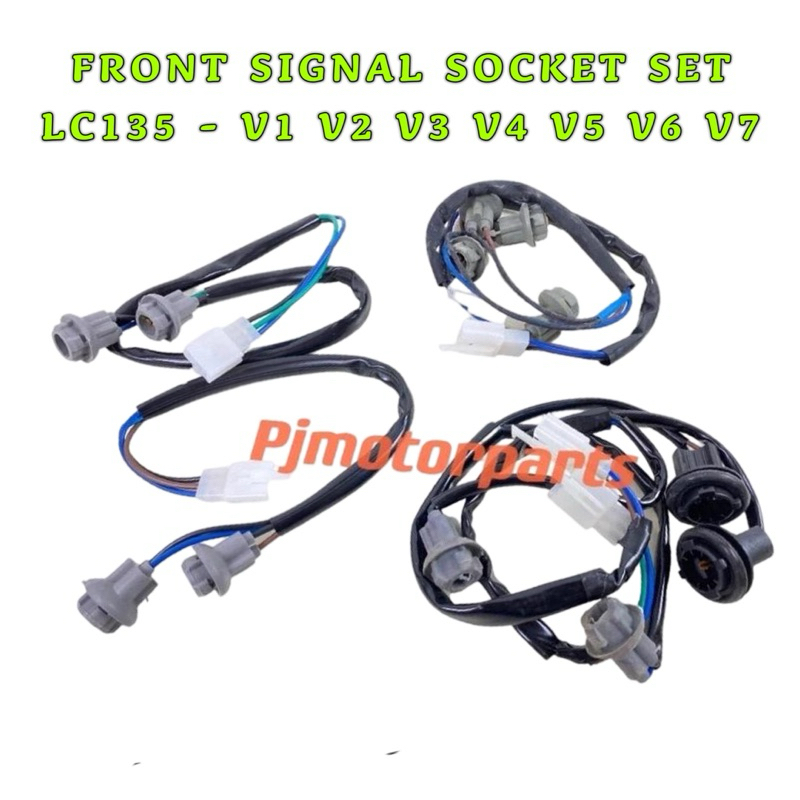
Inspect brackets and brackets’ contact points for wear or corrosion—worn metal compromises light stability and beam focus. 3. **Detach Electrical Components** Carefully peel back the wiring harness from the bulb can.
Disconnect the low-voltage (cat 3/4) and capacitor terminals with needle-nose pliers. Avoid nicking wires—damage here causes intermittent failure. 4.
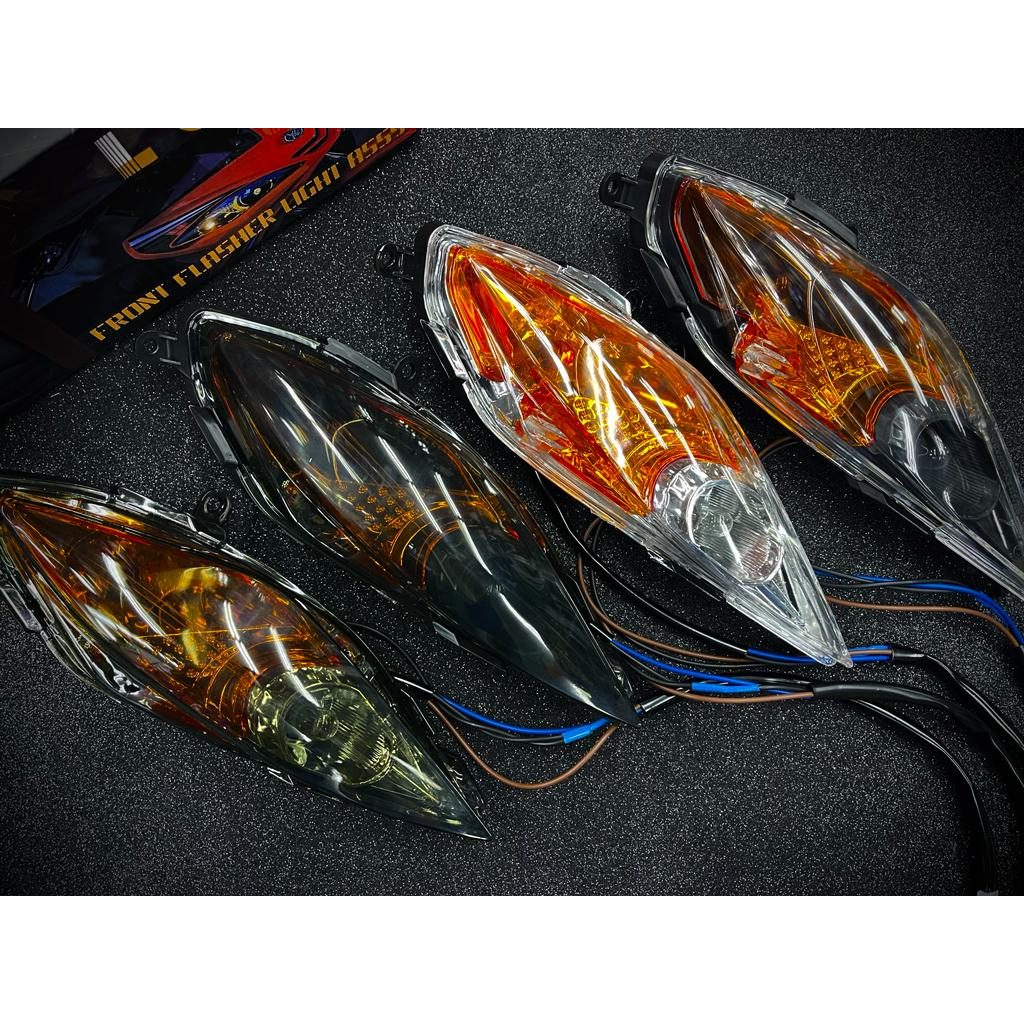
**Remove the Old Light Assembly** Unscrew and lift the housing straight up; some models require rolling it back slightly. Gently pull the bulb carrier away from the mount, then unthread the locking nut from the bracket. Be mindful of dust and debris entering the lantern assembly.
5. **Position and Align the New Unit** Insert the new light assembly into the bracket, aligning hinge alignment marks or optical centers with the vehicle’s forward line. Use a mast-mounted alignment tool to confirm beam projection angle—critical for achievingistischen illumination without glare.
6. **Secure and Reconnect** Reinstall the bracket and tighten bolts gradually in a crisscross pattern to prevent warping. Reattach all wiring harnesses and connectors, testing voltage with a multimeter before full closure.
Critical Alignment and Calibration: The Final Touch
Proper beam alignment transforms a functional light into a precision tool. Using the alignment tool, set the beam pattern according to OEM specifications—typically targeting 45 degrees incidence for optimal road visibility without glare to oncoming drivers. - Verify low-beam projection using a reference target at 20 feet.- Adjust tilt and beam spread until manufacturer-emphasized ranges are met. - Confirm functionality by testing paired high-intensity functions (dip switches, aux lighting) post-install. No installation is complete without function verification—a final road-check ensures not just proper fit, but perfect performance.
Common Pitfalls and Pro Tips for Success
Even experienced installers can stumble—awareness of these challenges ensures smooth execution: - **Misaligned Beams**: A slight angular deviation of just 5 degrees can cause dangerous glare or inadequate road coverage. Always use calibration tools, not guesswork. - **Loose Mounting**: Tighten brackets incrementally and test with a weight hold—vibration loosens unsecured brackets over time.- **Electrical Interference**: Modern vehicles may contain CAN bus sensors near headlight circuits. Disconnect and disconnect wiring harnesses carefully to avoid accidental shorting. - **Use Original Sheets**: Third-party covers may lack precise fitment—stick to OEM parts when upgrading aesthetics or sealing.
Professional technicians emphasize one rule: patience is the silent partner of quality installation. Rushing any phase increases failure risk.
Final Thoughts: Precision, Consistency, and Confidence
Installing front lights on an LC135 V6 vehicle is more than a mechanical task—it’s a balance of technical knowledge, careful planning, and precise execution.By following the structured six-step method, aligning optics accurately, and verifying function thoroughly, every installation gains a foundation of reliability and safety. No matter whether the upgrade is for daily commuting or off-road adventure, this approach ensures lights perform as engineered—illuminating every drive with clarity and control. With the right tools, method, and mindset, front light installation becomes a routine yet transformative skill for vehicle owners and technicians alike.

Related Post

Is Chris Brown Married to Diamond Brown? Unpacking Their Relationship Through Public Moments, Gaps, and Media Noise
What the Unseen World Reveals: Uncovering The Hidden Truths in the Quran’s Transliteration Roman Structure


