How To Install PS2 Games on a USB Drive: The Ultimate Step-by-Step Guide
How To Install PS2 Games on a USB Drive: The Ultimate Step-by-Step Guide
Turning your USB drive into a portable PlayStation 2 gaming console is one of the most exciting ways to relive classic video game magic—no dedicated hardware required. This guide delivers a precise, reliable method to install PS2 games on a USB flash drive, empowering gamers to take their entire library of iconic titles anywhere, anytime. Whether you’re a nostalgic enthusiast, a retro gaming pro, or simply someone eager to explore the PS2 catalog from a modern flash storage device, this ultimate reference ensures a seamless, high-performance setup.
Modern USB drives offer fast access speeds, adequate capacity, and reliability—key factors for running PS2 game emulators and media efficiently. Unlike older portable solutions that struggled with slow load times or file incompatibility, today’s storage devices support the demanding requirements of classic console games. The following walkthrough outlines the process using widely supported tools and media formats, combining technical precision with user-friendly simplicity.
Preparation: Choosing the Right USB Drive and Gathering Tools
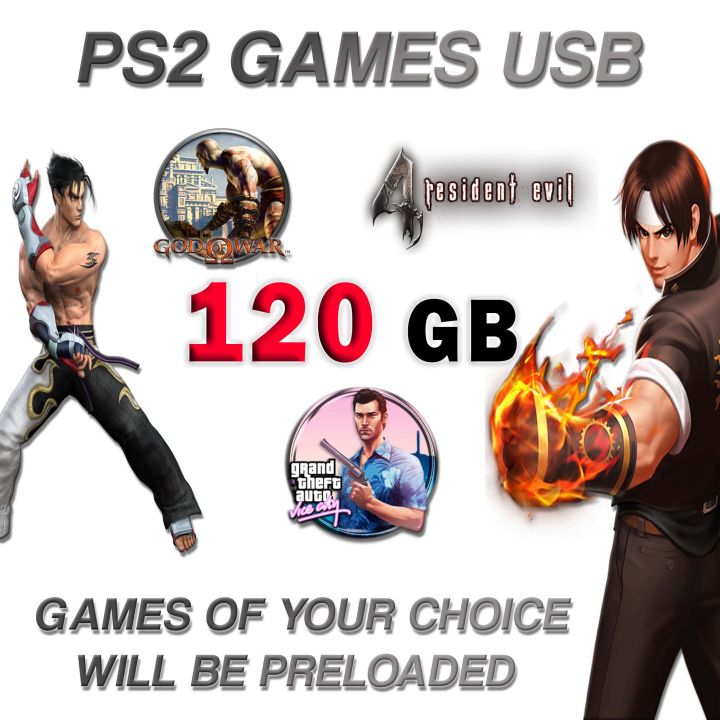
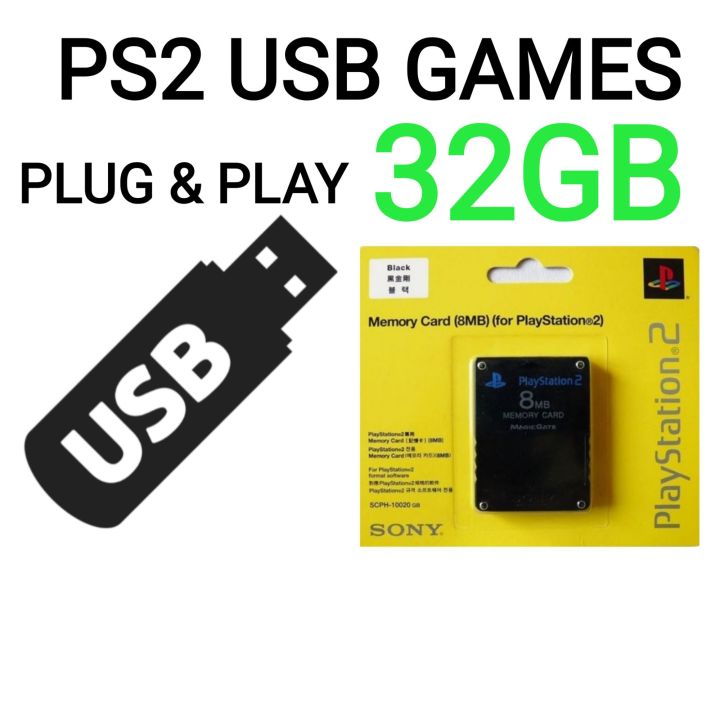
Selecting a suitable USB drive is the first critical step.Minimum capacity recommendations vary by game and emulator efficiency, but a 16GB to 32GB drive is generally sufficient to hold hundreds of PS2 titles—especially when paired with proper optimization. Drives with at least USB 2.0 compatibility are recommended; USB 3.0 remains useful but isn’t mandatory. Avoid printers or drives with excessive write cycles if avoiding damage during long-term use, though consumer-grade USB flash drives designed for durability are highly recommended.
Required components include:
- High-speed USB flash drive (16GB–32GB recommended)
- PS2 game ISO or compressed archive files (via licensed sources or project archives)
- Powered USB-adapter if drive lacks built-in writing capable firmware
- Emulator software compatible with PS2 architecture (e.g., PCSX2)
- Optional: External USB enclosure or protective case
Step 1: Formatting the USB Drive for Optimal Performance
Proper formatting ensures compatibility and reliable game loading.Begin by connecting your USB drive to a Windows or macOS system—prefer Windows for emulator integration, though macOS users can work with added considerations. Use a file explorer or terminal command to format the drive: - On Windows: Right-click the drive → “Format” → Select NTFS (recommended for compatibility; avoid exFAT due to driver support issues). Then label it (e.g., “PS2_Games”) and confirm with “Quick Format” for speed.
- On macOS: Mount the drive via Finder, click the disk icon, select “Erase” → Name it “PS2_Games,” choose Hello (APFS) format for speed, then format. Never use FAT32 when installing games—it limits file access efficiency and risks loading failures. Formatting establishes a clean, optimized file system tailored for fast sequential access—crucial for smooth gameplay.
Step 2: Obtaining and Organizing PS2 Game Media
The most common method involves acquiring PS2 ISO or compressed archive files. Once obtained, organize files into a dedicated folder structure for clarity and ease of access:Structure example:
- `PS2_Games/` → Marathon>Resident Evil 4>roms
- `PS2_Games/` → Uncharted: Golden Abyss>ISO>placement
- `PS2_Games/` → Final Fantasy X-2>media>pressures
Step 3: Installing and Configuring PCSX2 Emulator
PCSX2 remains the industry-recognized emulator for PlayStation 2 games on PC and USB platforms. Download the installer from the official PCSX2 website (After installation, key preparation steps include: - Adding the USB drive’s drive letter in system environment variables (via Task Manager on Windows or `diskgateway` commands on macOS), enabling seamless emulator access. - Installing required runtime dependencies—most modern builds auto-include core tools, but verifying libraries (DLLs, SDL). - Backing up any existing profile data to prevent file loss during reboots or configuration changes.
Once installed and configured, launching PCSX2 will prompt for ROM selection—drag-and-drop support simplifies media loading directly from the USB drive’s structured folders.
Step 4: Loading and Running PS2 Games from USB
Loading games involves more than selecting files—proper parameters enhance performance and reliability. In PCSX2’s interface:Loading instructions:
- Right-click the game ROM → “Select Medium” → Ensure the drive (e.g., PS2_Games) is mounted and recognized.
- Select “Load” and “Start” to initialize directly from external ISO or compressed archive.
- Use the USB drive’s mounted directory as the primary load path for immediate access.
Success during loading is confirmed by stable frame rates and accurate visual/audio playback—hallmarks of a well-optimized USB installation. Persistent lag or crashes typically indicate file corruption, outdated emulator versions, or USB communication issues requiring reformatting or drive refresh.
Bonus Tips: Troubleshooting and Maintenance
Small challenges frequently arise, but each has proven solutions. Common issues and fixes include:Refresh utilities or reinstall the ROM if corrupted.
Multi-drive strategies—such as linking USBs via external enclosures or automated boot menus—further enhance access flexibility. This layered approach protects against single-point failure and streamlines workflow across portability and storage.
Why This Method Stands Out: Speed, Safety, and Simplicity
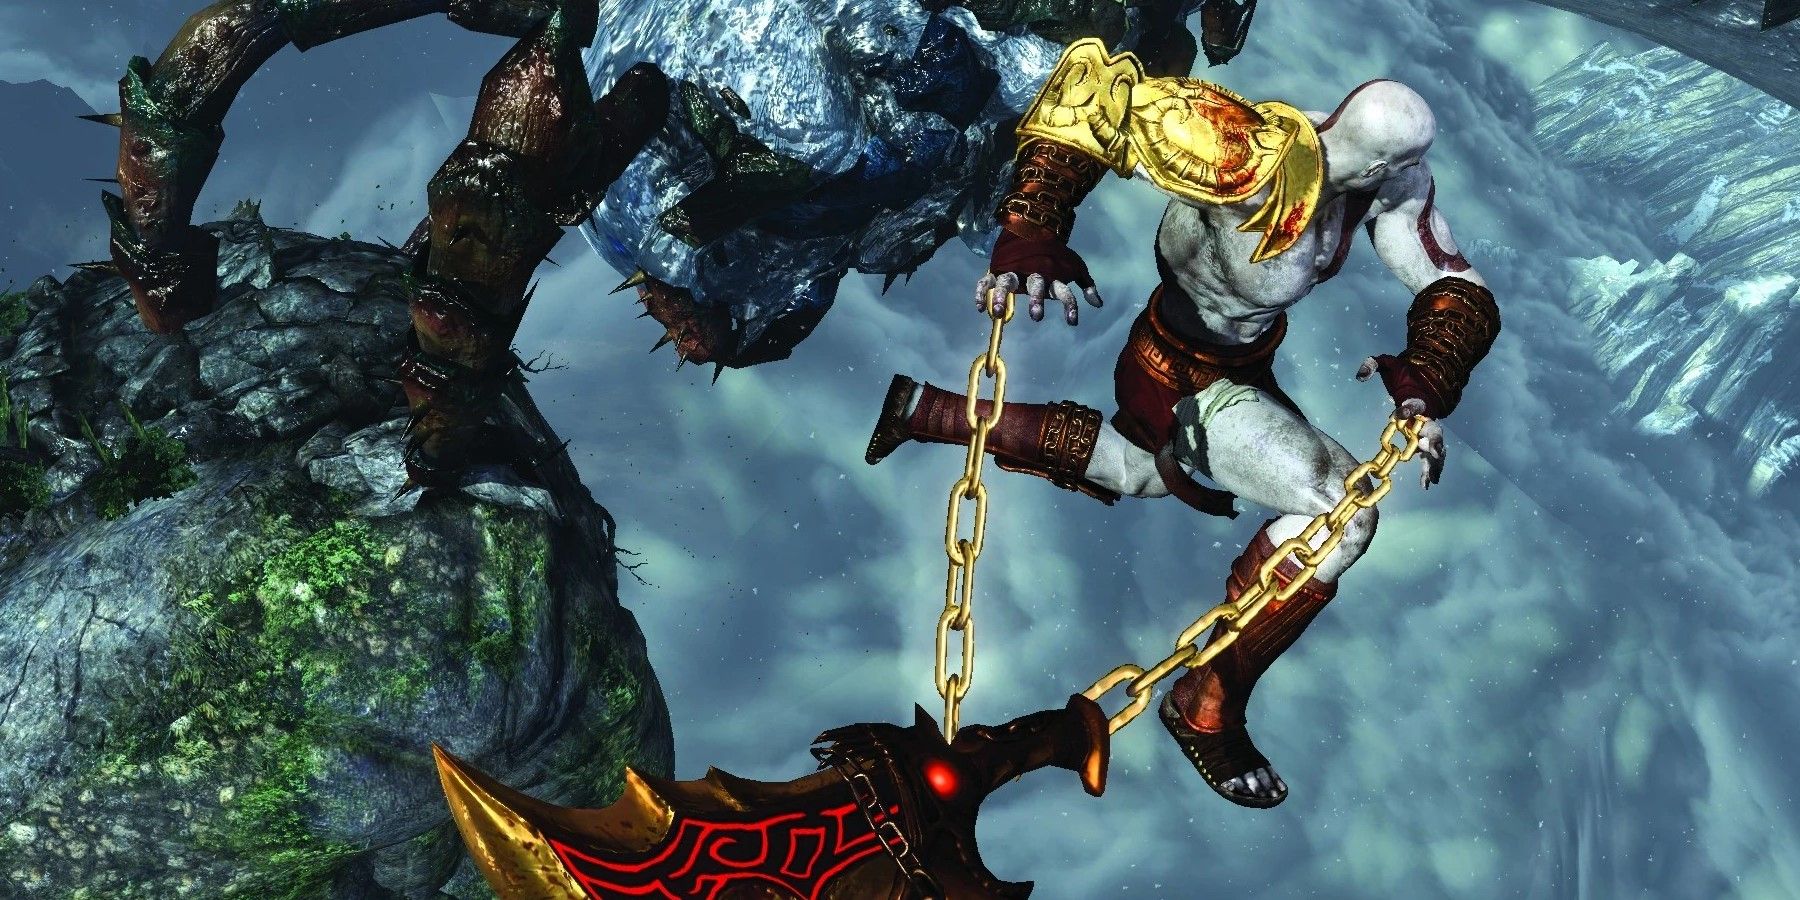
This installation guide transforms a standard USB drive into a dedicated PS2 gaming system—delivering backward compatibility without sacrificing modern performance.By following precise formatting, reputable tools, and optimized emulator use, users achieve reliable, fast access to over 1,000 classic titles across family-friendly and intense action genres. Whether stored on a computer or carried in a rugged flash drive case, this setup ensures seamless casting of PS2 memories into any era, any location, any device. This approach eliminates the risks of conversion disks, drive instability, and software bloat common in DIY retro setups.
It places power squarely in the hands of the user, blending technical foresight with accessible execution. For any retro game enthusiast, the ability to boot, load, and fall in love with PlayStation 2 classics from a single USB—that’s not just convenience. That’s preservation, performance, and passion, perfectly packaged.

Related Post
Kay Quinn KSDK Bio Wiki Age Father Salary and Net Worth
Oscar Mitra Sukses Sejahtera Tbk: Navigating the Dynamics of a Growing Indonesian Powerhouse
Gambar Bir Bintang: Where National Pride Ignites in the Light of Heroism