Convert Mountain Bike To Dirt Jumper: A Step-by-Step Guide
Transform your mountain bike into a high-flying dirt jumper with precision, skill, and the right tools—this step-by-step guide reveals how to convert your bike safely and effectively, unlocking aggressive off-road jumps with control and confidence.
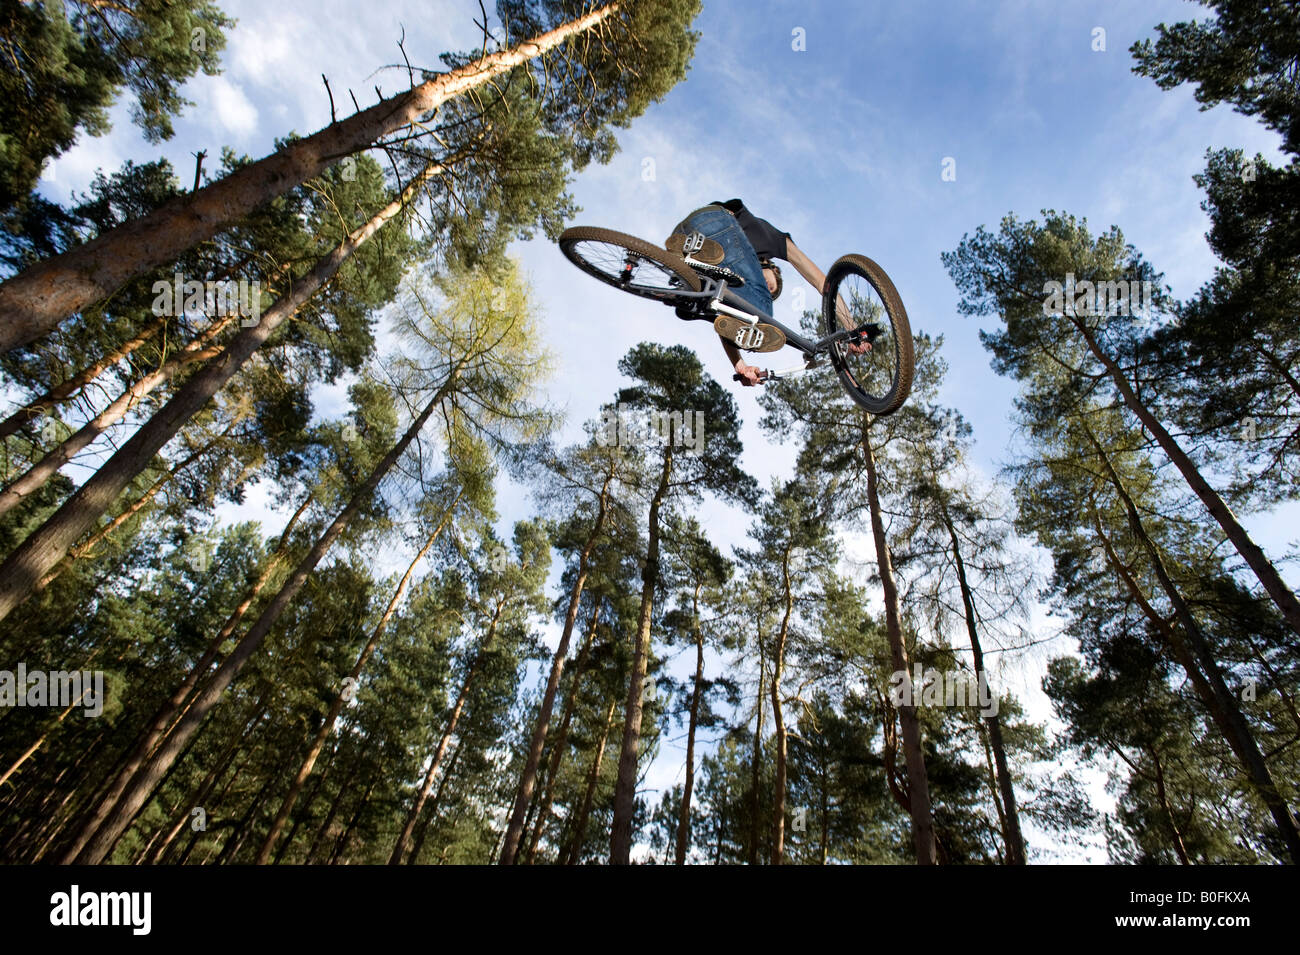
From Trail to jump line: The Essential Art of Converting Your Mountain Bike to a Dirt Jumper
Mountain biking on rugged trails has long fed a raw, adrenaline-driven hunger for flight. Now, riders are pushing boundaries—literally diving from structured terrain into deliberate dirt jumps. Converting your mountain bike into a dirt jumper isn’t just mechanical work; it’s about blending engineering with fearless riding.This comprehensive guide delivers a clear path to build a machine that launches cleanly, lands safely, and rides like a purpose-built dirt sprinter—without sacrificing reliability or safety.
At its core, conversion hinges on four critical pillars: frame compatibility, suspension handling, brake integrity, and wheel compatibility. Each component must be chosen and adjusted with intention to transform your bike from a terrestrial cruiser into a responsive dive machine. Riders who undertake this project gain not just a new way to traverse terrain, but a fresh perspective on how machines and motion connect in off-road adventure.
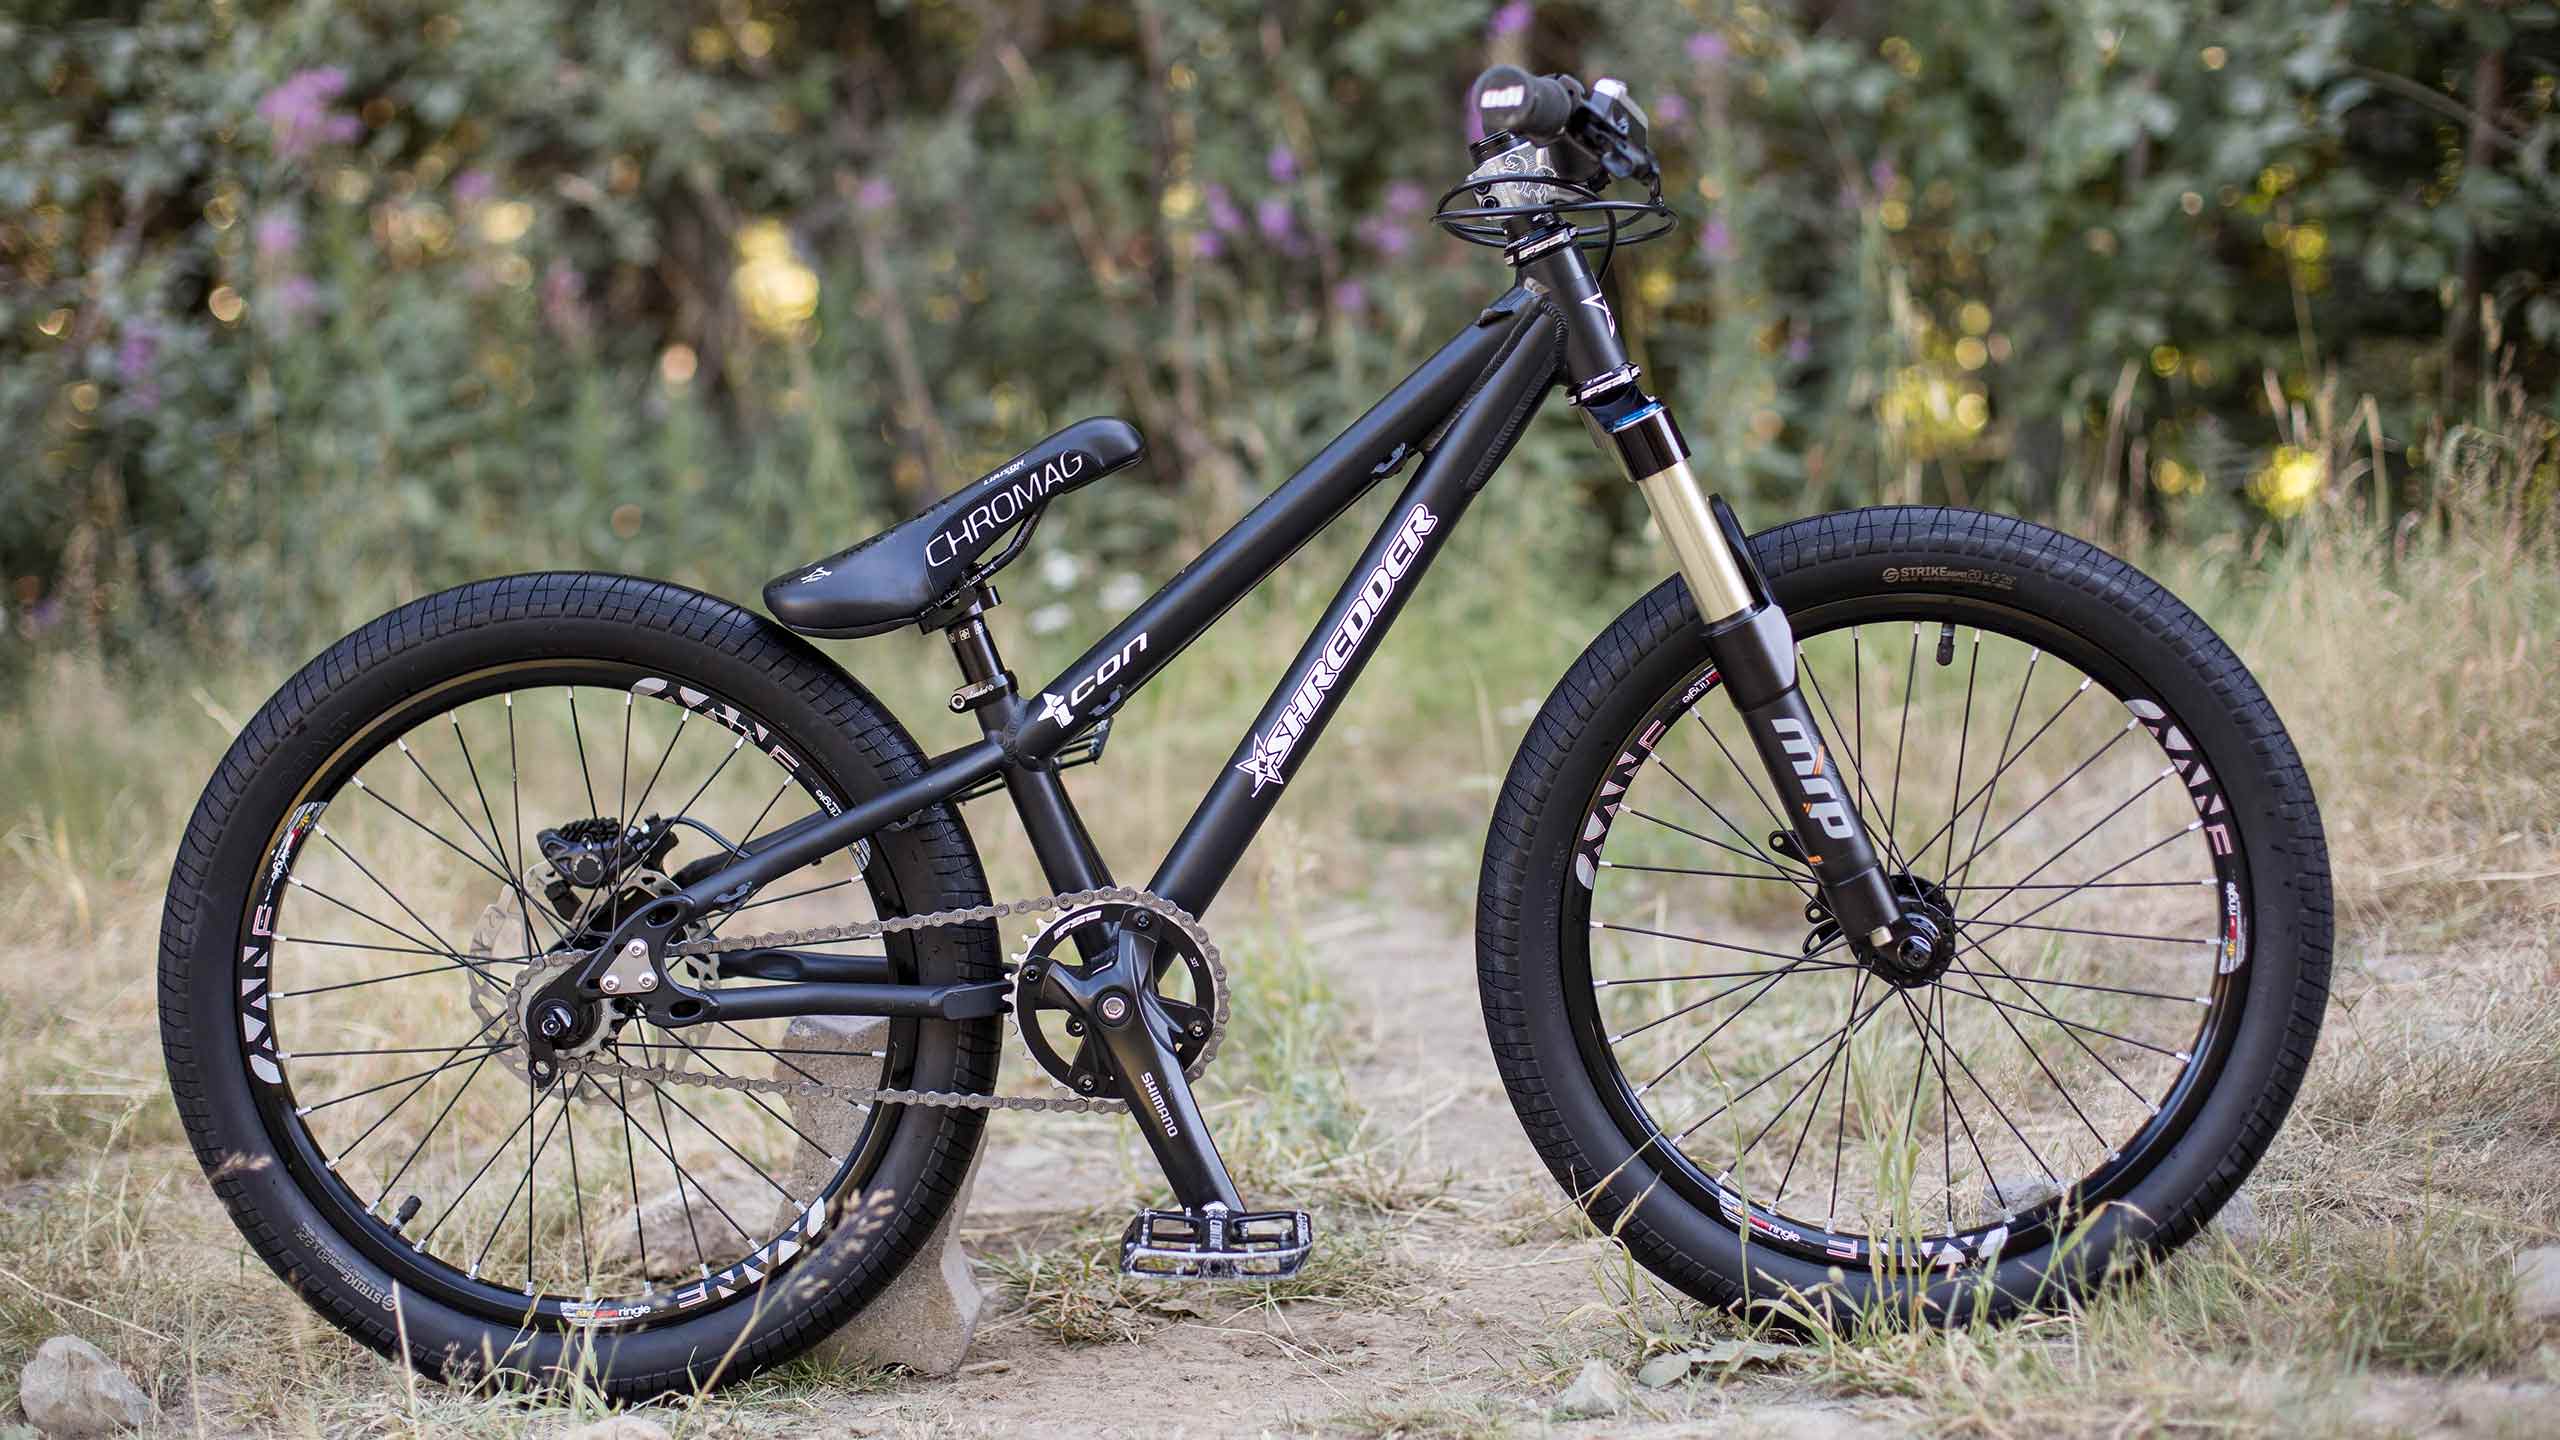
Step 1: Assess and Prepare Your Bike’s Structural Foundation
Before any wrench turns, evaluate your bike’s current frame and hardware.Most mountain bikes—especially hardtail or trail-focused frames—serve as the ideal base due to their rigid geometry and spacious rising chainstays. Avoid full-suspension frames unless you’re prepared for added complexity, as full suspension introduces shifting weight dynamics that complicate jump performance. Inspect the frame for tube quality, weld integrity, and geometry.
A clean tube without cracks or corrosion ensures long-term durability under jump stress. Pay close attention to fork strength and fork rake—this determines how the bike busily settles into a jump stance. A shorter rake angle often improves tracking and stability mid-air, while the fork’s crown height affects bounce control.
Key Checklist before Conversion: - Frame material: Aluminum most common; steel and carbon viable but require special handling.- Fork fork crown height: Low to moderate for clean bottoming. - Through-axle vs. thru-rotation: Standard axles preserve rotation; permissible in post-16” era builds.
- Brake mount integrity: Mounts must withstand lateral force during crashes. “You can’t upgrade a bike’s soul without understanding its limits,” says bike mechanic and trail builder Jordan Reed. “Start with a frame that honors both your style and the physics of a jump.”
Step 2: Modify Suspension for Jump-Ready Performance
Suspension tuning is perhaps the most impactful adjustment.While dirt jumpers often use hardtail setups, soft spring rates can help absorburbulence without restrictingpedal stroke or causing sudden takes-off. Some riders switch to bushings or replace springs with stiffer equivalents to maintain consistent rebound. For front suspension: - Install high-compression parallel springs to reduce bottoming, ensuring tires stay planted during hard landings.
- Use braided carbon or reinforced steel plates behind the fork to protect steerer tubes and maintain precise steering return. - Adjust air pressure in air springs (if available) to fine-tune travel without overloading the system. Rear suspension (if present): - Reduce rear spring preload to allow slight compression, preventing “clipping” obstructed landings.
- Secure hooks and tabs firmly—jumps subject these components to extreme racking forces. - Consider removing rear shock entirely to minimize mass and lower center of gravity. A properly tuned suspension doesn’t just cushion falls—it stabilizes your line, reducing inputs and giving you repeatable jump, critical for mastering air control.
Step 3: Brake Upgrade and Drive Train Refinement
Effective braking can make or break jump consistency.Most standard controllers exceed 200mm of travel—insufficient for the violent forces of soil takeoff. Replace with dual, high-interpretation calipers offering both front and rear stopping power. Ceramic or toughened disc brakes resist runout and heat buildup, essential when lips are close to pavement—and sometimes dirt.
Mount calipers high and centered behind the braking surface to prevent caliper bounce mid-jump.Securely bolter the master cylinder and bleed fully to maintain sensitivity. For drivetrain, shift to slower 24–27t chains and wider-range cassettes to sustain cadence through repeated takeoffs. Larger front chainrings (up to 53t) paired with larger rear sprockets improve pedaling grip without straining the motor (in pedal-assist models) or chain integrity.
Step 4: Wheel Compatibility and Tires: The Final Flight Link
Selecting the right wheels is pivotal.Look for sturdy 2.1" to 2.3" diameter rims—lighter than 26” but strong enough to absorb impact. Raiser-compatible rims or dedicated dirt jumper hubs provide ideal clearance for factory or aftermarket wide tires, typically 2.1–2.5" for optimal soil grip and roll profile. Tire choice shapes every landing: - Aggressive tread patterns with high tread depth ensure solid traction across loose, packed, and wet earth.
- German-style no-skid tread offers reliable hold on hardpack. - Tubeless-ready setups reduce pinchflat risk and improve responsiveness on rocky terrain. “Your wheels are the bridge between land and flight,” notes off-road specialist Lena Cruz.
“Choose ones that grip soil like a lover’s hand—then every jump feels safe.”
Mount dual clearance mounts or duty tubeless rims to accommodate aggressive tire setups without compromising dropouts. Verify axle strength—especially with rotary hubs—since repeated bottoming strains drive systems fast.
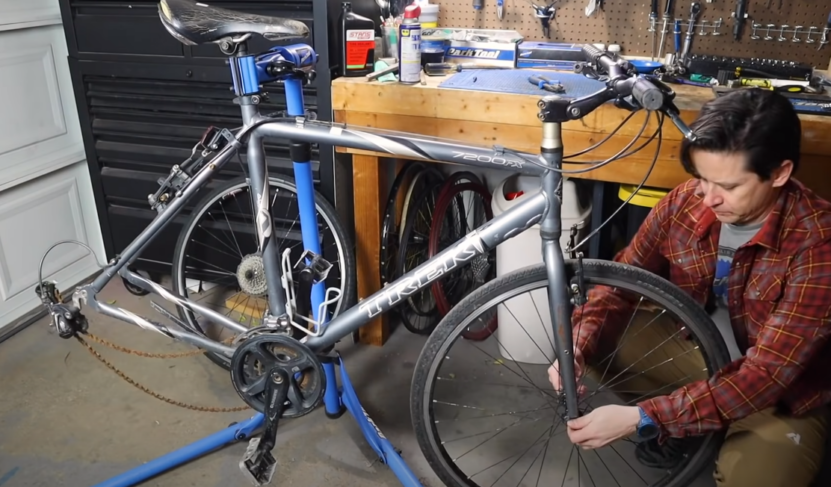
Final Assembly, Calibration, and Safety Protocols
With components selected, align the frame, fork, wheels, and brakes step by step. Double-check all bolt torques—loose fasteners invite failure at takeoff.Install a reliable downshifter or electronic shifting system if using pedal assist, and test clutch engagement to avoid pedal scrub on landings. After installation, ride cautiously: begin with soft, gradual jumps on low terrain to calibrate feel. Observe rebound behavior, brake pull, and tire contact angles.
Make small tweaks—adjust spring clearances, fork rake, or brake assembly—before pushing limits. Safety remains paramount: always wear full protection, inspect bolts monthly, and never ride beyond the bike’s design envelope. Return to the shop for frame stress analysis post-major jumps.
This transformation—from rigid trail ride to agile dirt jumper—blends mechanical know-how with fearless riding intent. Every modification, from fork crown to tire tread, builds a machine that answers your command mid-air with confidence and precision. Dirt jumping is no longer fantasy—it’s engineering tailored to flight.
With patience, attention to detail, and respect for machinery, this guide empowers any rider to turn ordinary trails into kingpins of airborne fun.
The Dirt Jumper Experience Awaits You

Related Post

OSCP Vs JSAX Vs FOUTEN: Which Pen Testing Framework Makes the Cut?
Shanda Vander Ark Photos: Unpacking the Visual Evidence and Legal Fallout of a High-Profile Case
Roman Reigns Set To Defend WWE Undisputed Universal Title In Fatal 4Way Match At Royal Rumble